Process
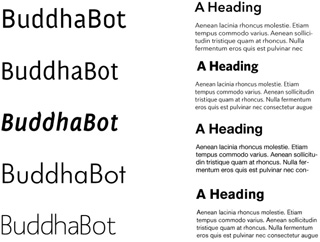 After finalizing the concept and researching, I had to design the booklet. In turn, I needed to create the graphic assets and brand identity.
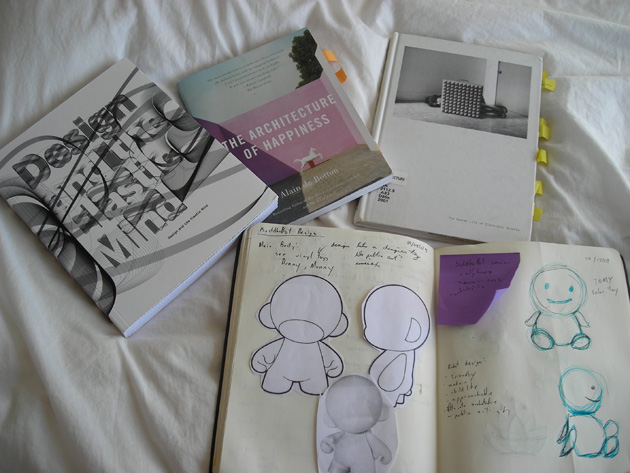
To show that BuddhaBot could be a reality, I created a physical non-functional prototype and took photographs of it on the streets of the city. First, I settled on the final look of the "robot". For inspiration I looked at designer toys such as the MUNNY. I looked at designer toys because a good deal of them are friendly and inviting, which is what I want BuddhaBot to be. I want people to feel comfortable using the robot's services. I also wanted the robot to look like public art, so its placement on a random street corner is not questioned.
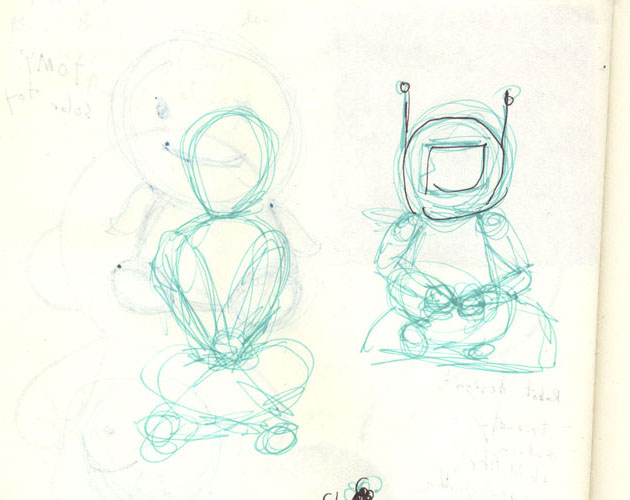
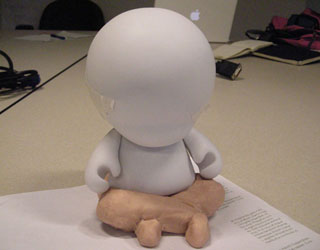
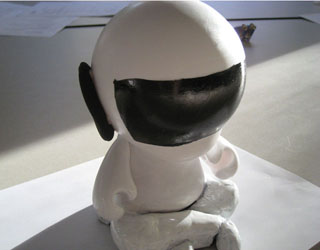 For the prototype, I modified a MUNNY vinyl toy using paint markers and Super Sculpey. I first removed all the parts of the MUNNY that were extraneous to the final design. This included the ears, tail, and legs. I sculpted crossed legs out of Super Sculpey and attached all the parts using epoxy glue.
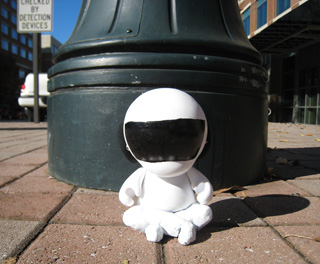 For the photographs, I took the finished prototype out into the city. The shoots took place mostly in the Midtown area of Atlanta. First, I took a photo of the area without BuddhaBot. Then I placed BuddhaBot in the scene and took a close-up. The prototype was 7 inches. BuddhaBot would have been about four feet high. So, using Adobe Photoshop, I merged these photos and manipulated them so that the prototype appeared to be the correct scale.
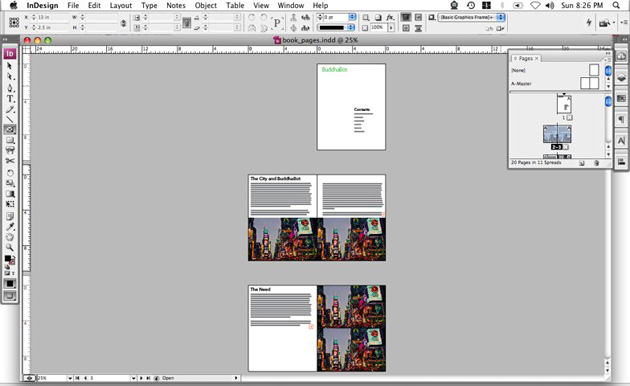
For the booklet spreads, I used Adobe InDesign to create the layouts. I had some trouble writing copy because I was more used to writing for audiences in academia. The booklet would be mailed to laypeople, so the copy had to be clear, precise, lacking in jargon, and not obtuse. So, I familiarized myself with copywriting for advertising and direct marketing by reading Mark Shaw's Copywriting: Successful writing for design, advertising, and marketing.
View the final project.